Admin Settings
Here you can find all of the information regarding settings.
After Saberis personnel sets up a SaberisConnect account for a customer's Administrator, they will send the Administrator their login information.
Upon receiving this information, the Administrator should login and immediately change their password.
Responsibilities of the Administrator
- Creating new user accounts and assigning their rights.
- Setting the required export format properties.
- Selecting the required Vendor Modules and configuring their settings.
- Adding and updating Locations if needed for your ERP/POS system.
- Creating Phrase Mapping for description length control.
Only a user with administrator rights can make changes to the settings.
Time Zone Settings
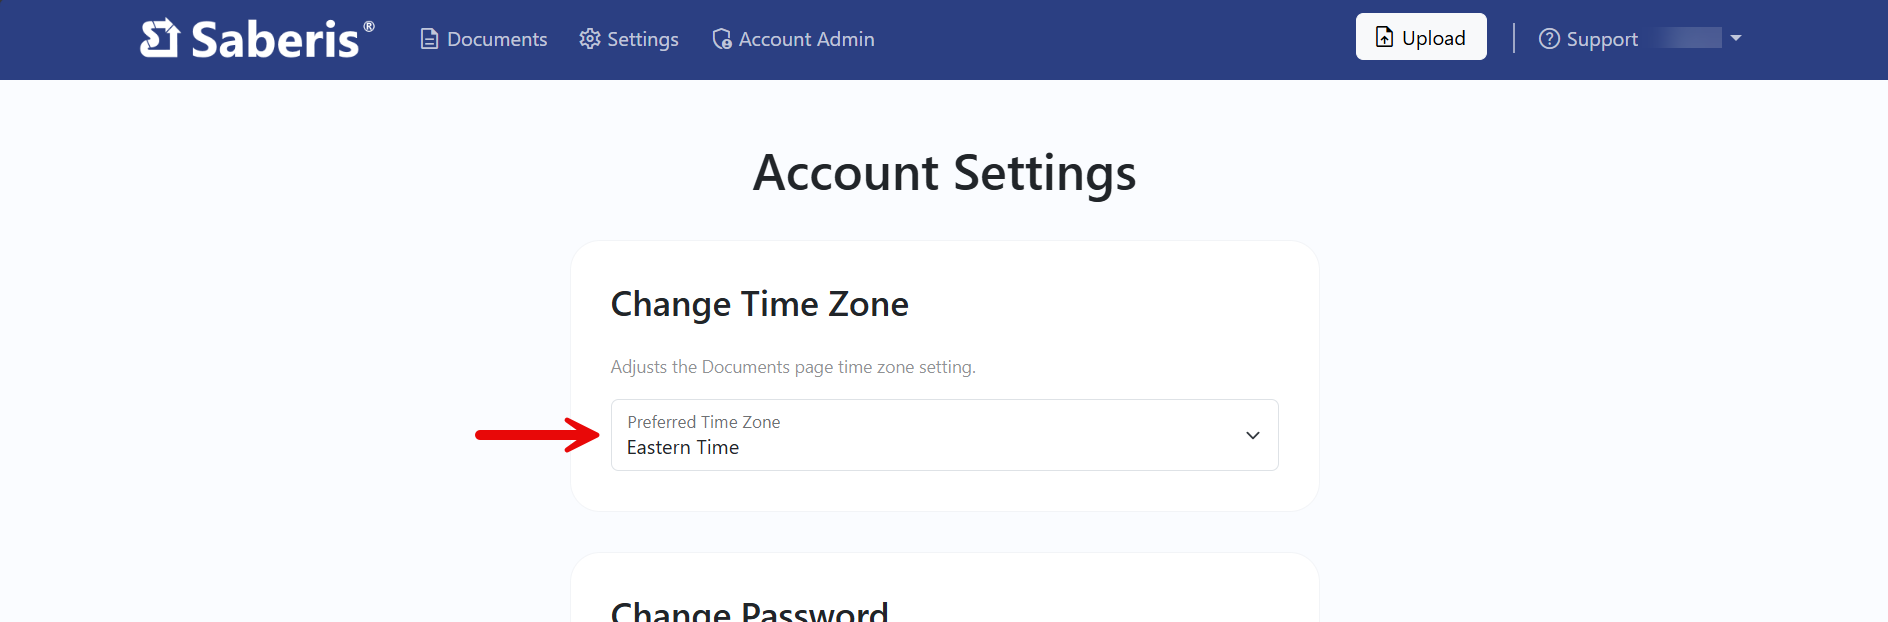
The system may be defaulted to Eastern Time. The company setting can be overwritten by a User if they are in a different zone.
There are two methods to change the time zone:
- Method 1: If you are in the Document List, click on the time zone next to the date.
- Method 2: Click on your User Name on the navigation bar and select Manage Account from the dropdown menu.

Then, click on Preferred Time Zone and choose your time zone. The page should save your preference automatically.
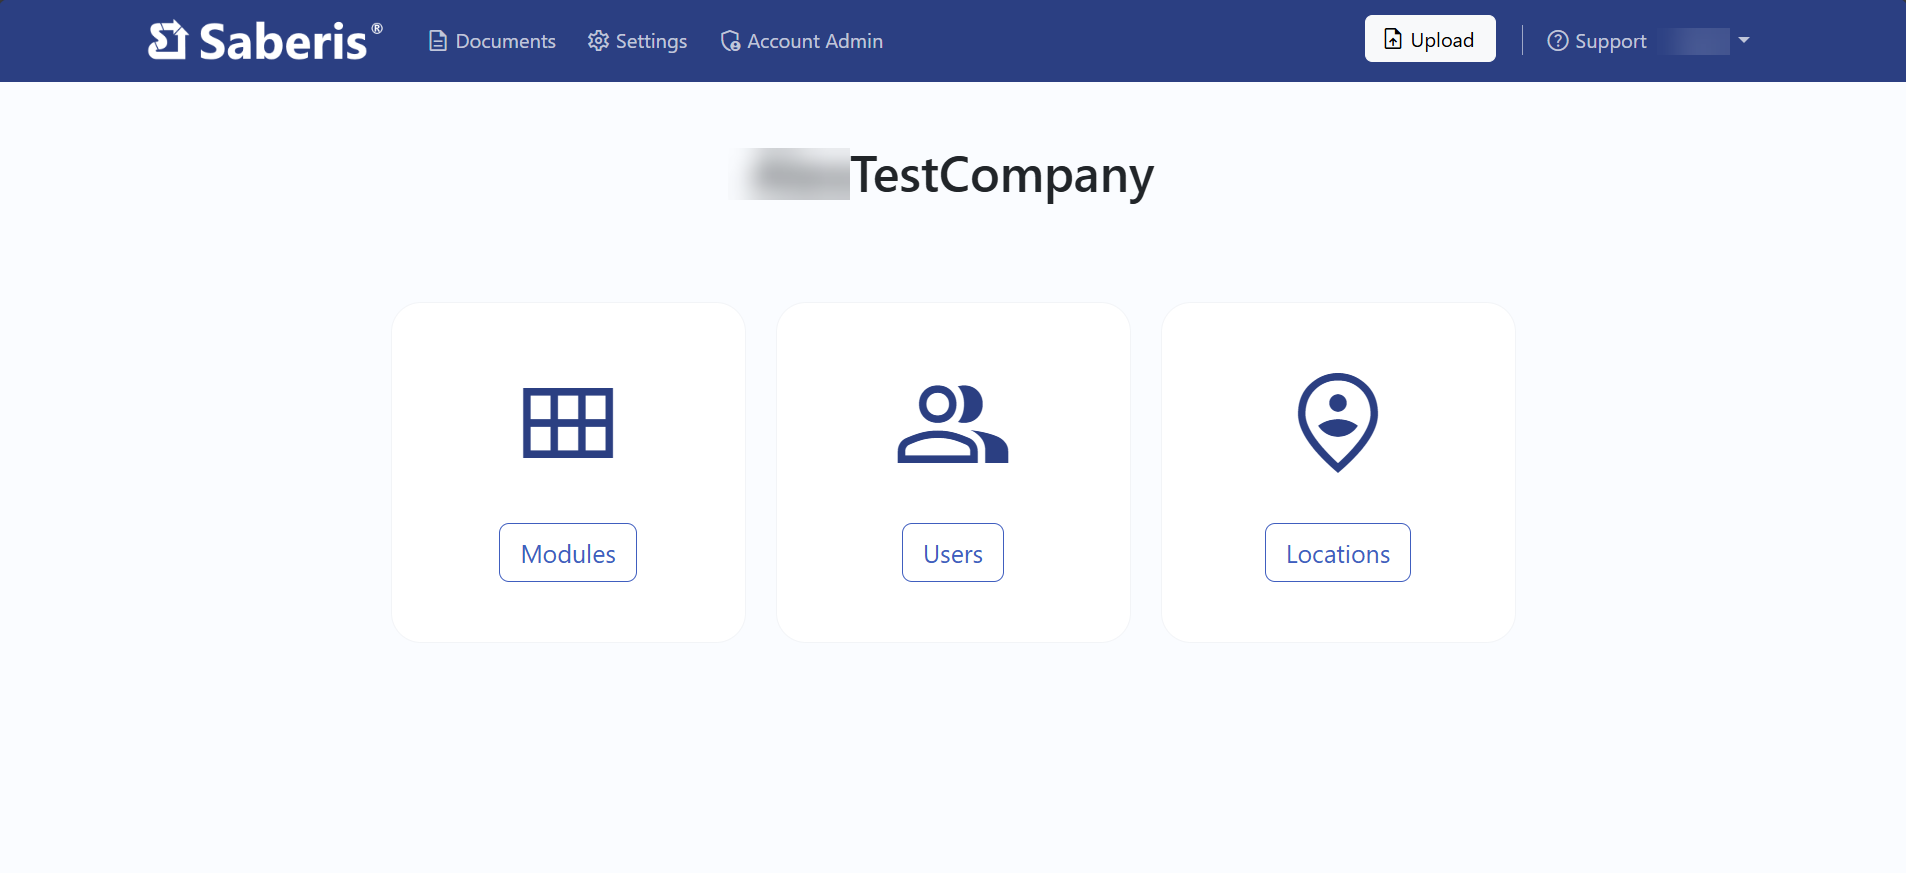
Account Admin
There are three important settings under Account Admin: Modules, Users, and Locations.
Modules
The Administrator can add any number of new Modules by checking the boxes. Your ERP provider or ERP Administrator may have to do some setup in the ERP system.
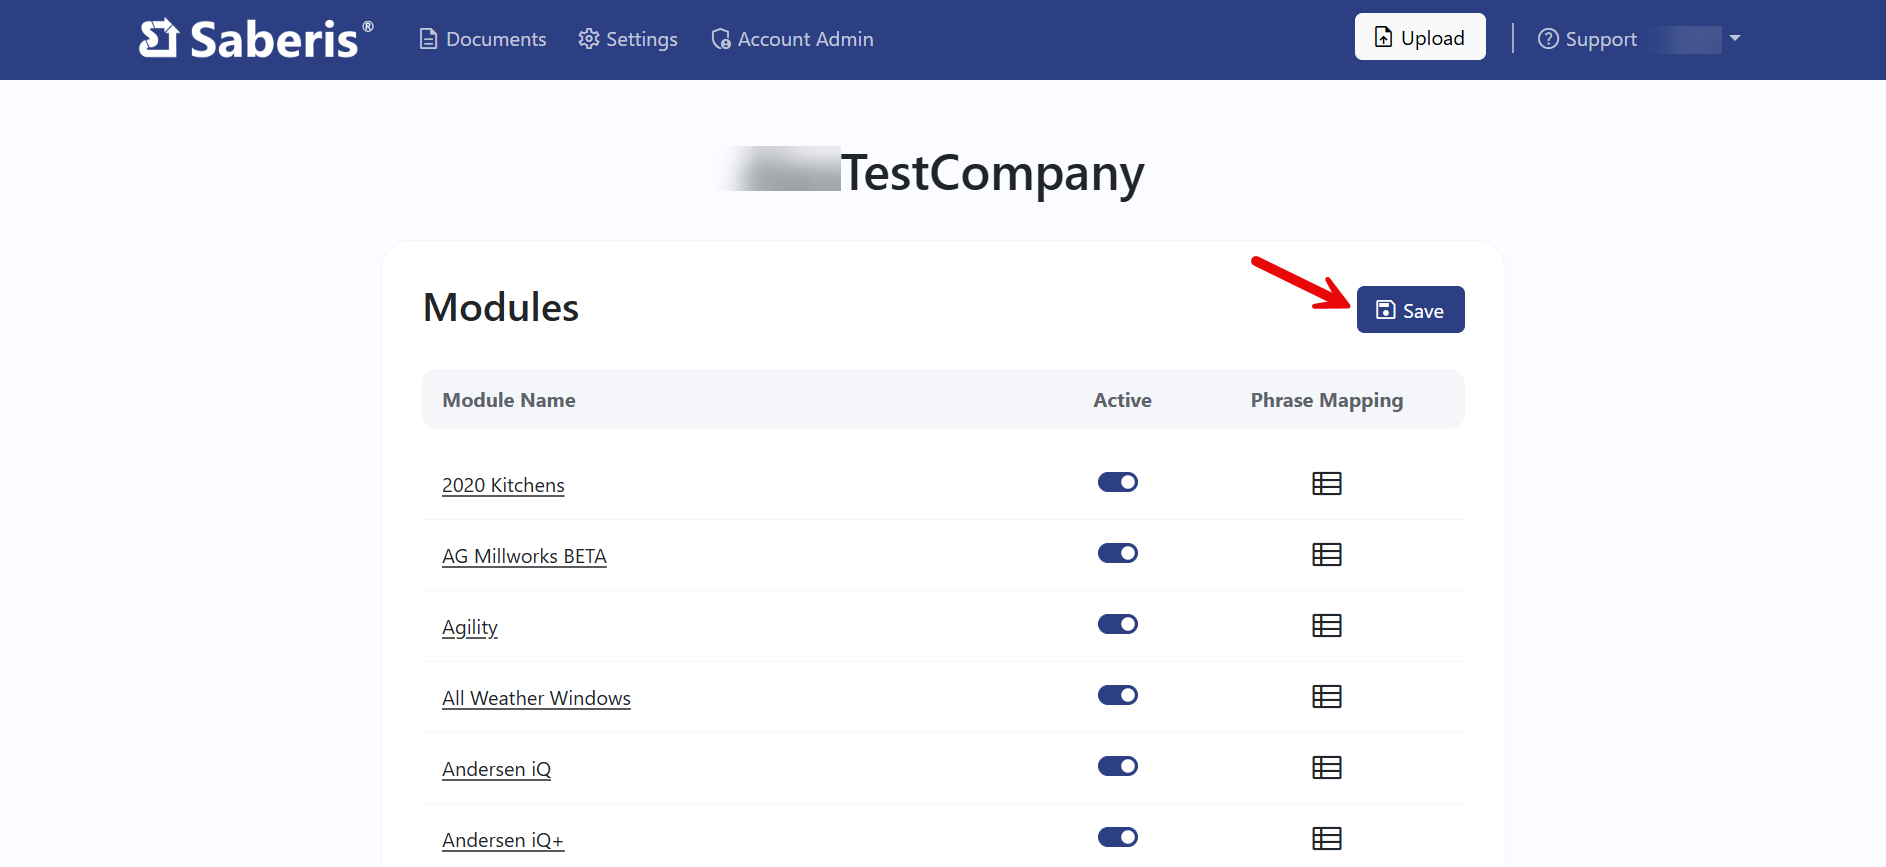
For more information on module settings, see Vendor Modules.
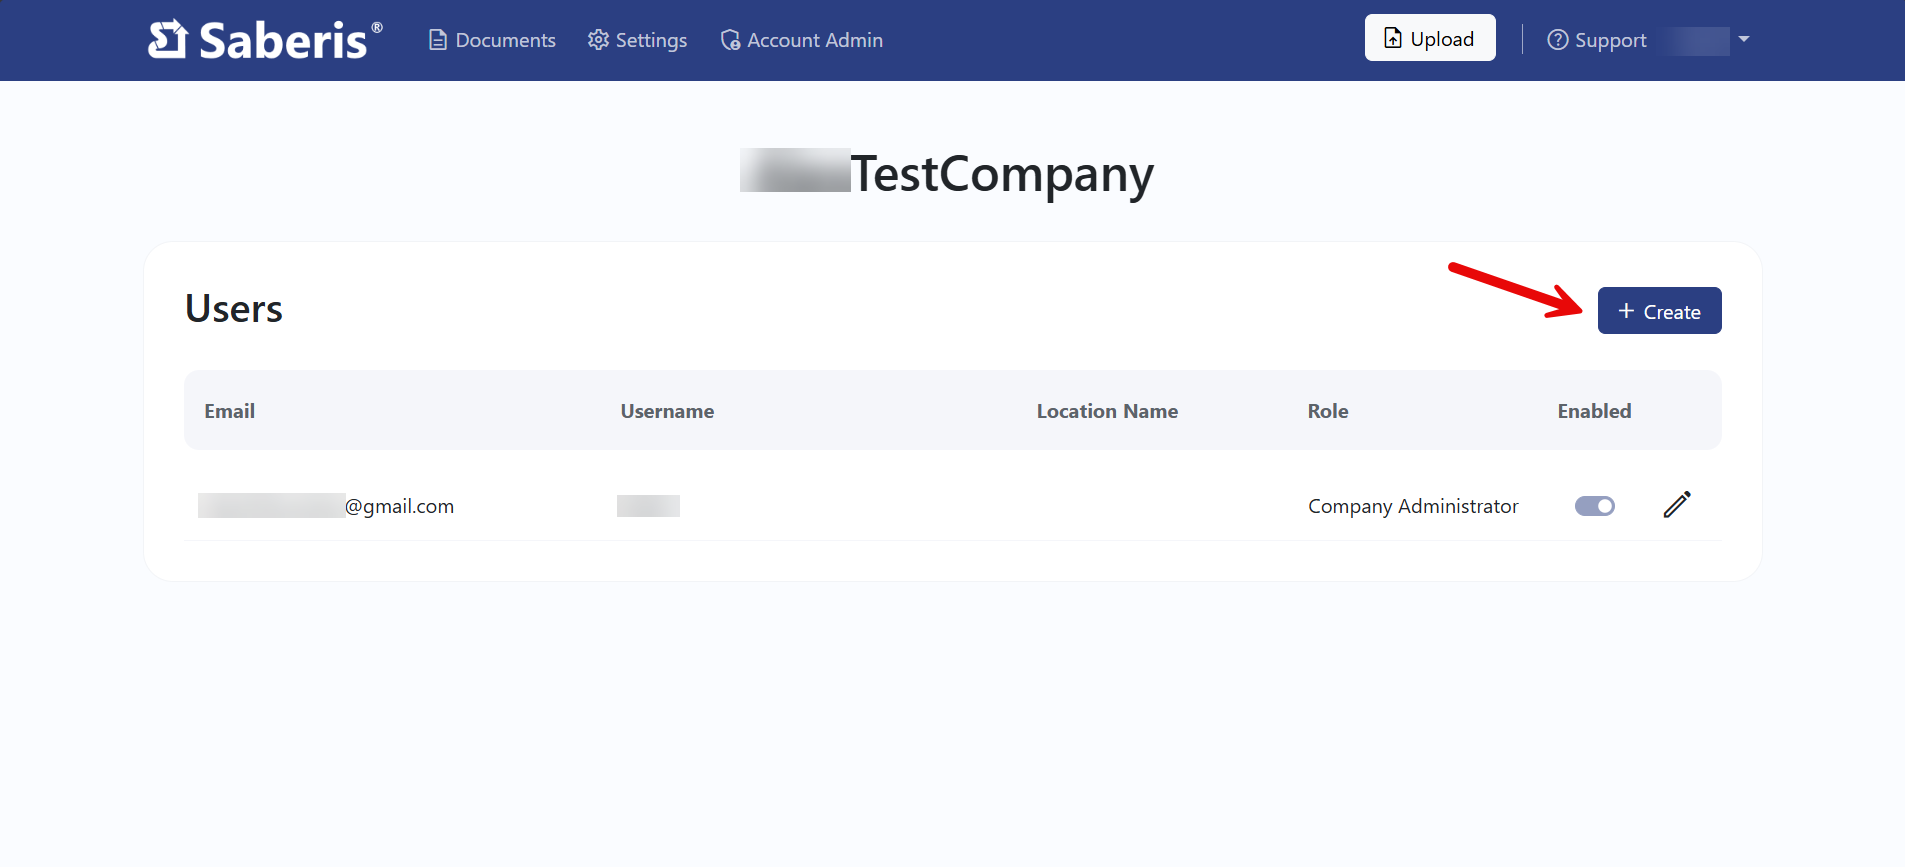
Users
The Administrator can add unlimited users. Anyone who is responsible for settings, including adding and updating 2020 Design Catalogs, should be an Administrator. Please review the User Settings for a guide on creating and updating user accounts.
For more information on creating users, see the User tab above.
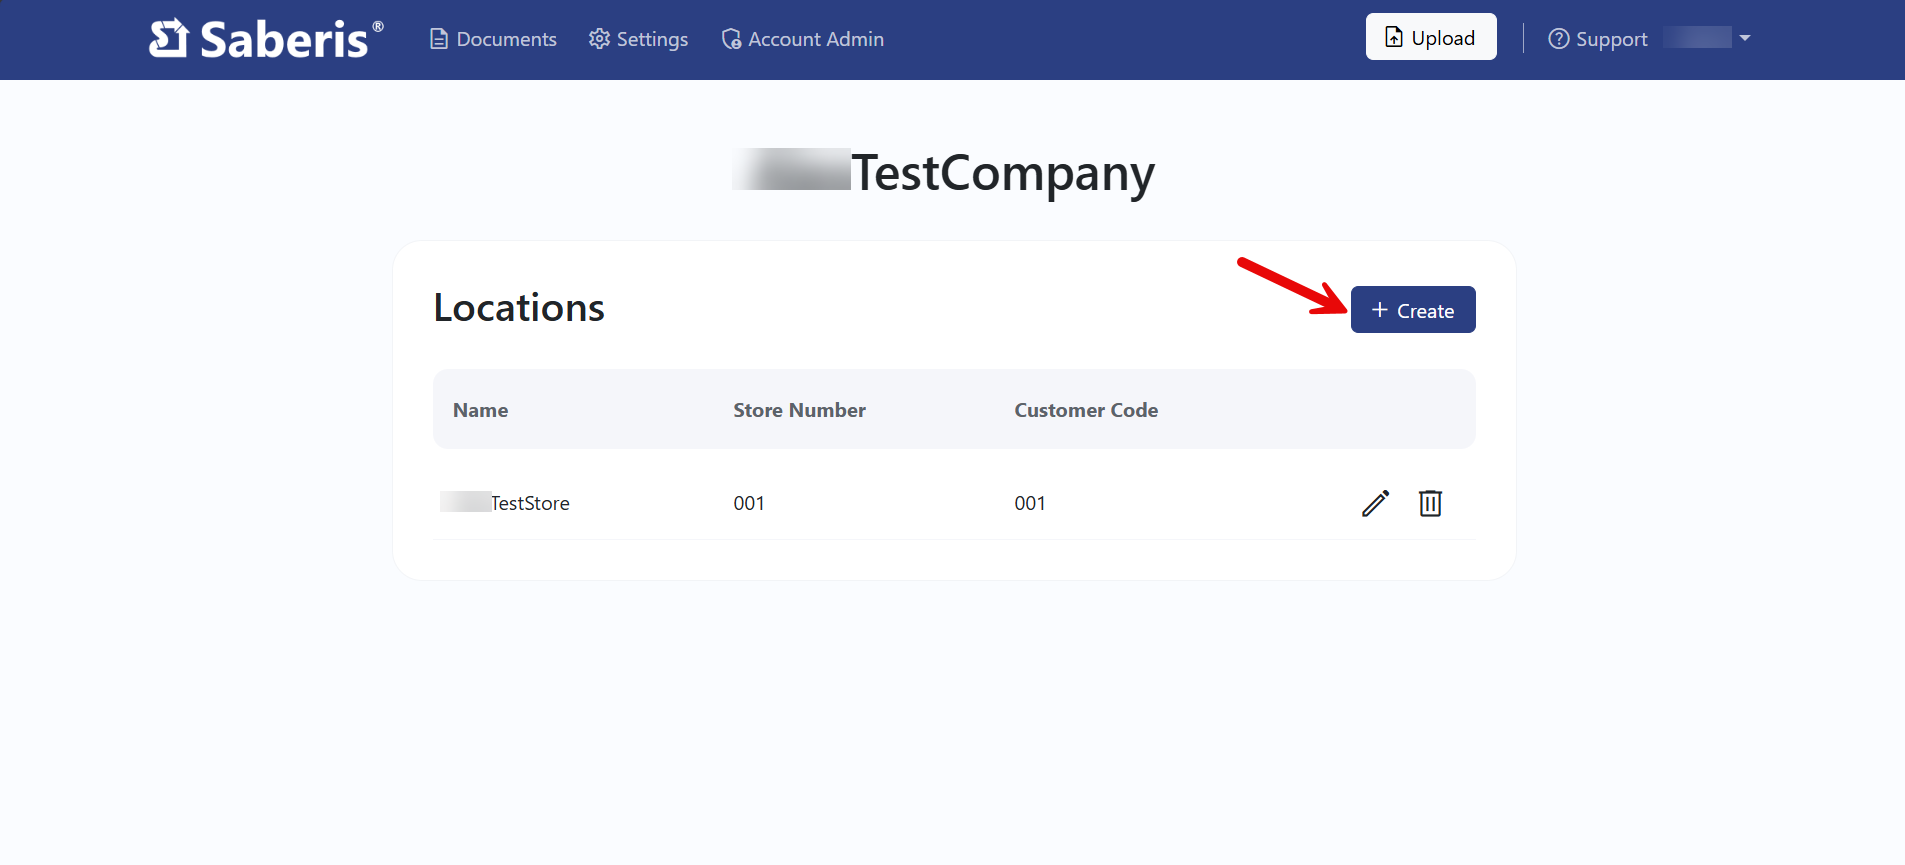
Locations
The Administrator can add the company's locations if applicable for your ERP/POS system. This will direct your orders to the correct store or location.
For more information on creating locations, see the Location tab above.
Saberis will set up these options based on the information given to us at the time the account is created. Only users with Administrator rights will see the Settings on the top Menu Bar.
It is the responsibility of the Company Administrator to verify these settings.
General Settings
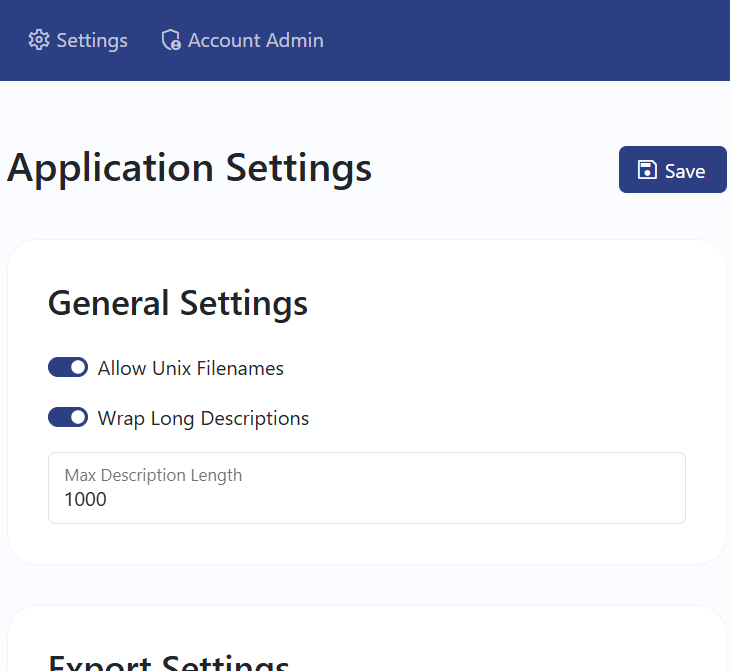
Allow Unix Filenames
This should be used for:
- POS/ERP Unix/Linux servers.
- Users of the Saberis FTP option.
This feature will purge a "/" that may be in the Design or project name in the export file name. A "/" could create a new folder on the server with the name of the file name up to the "/".
Wrap Long Descriptions
The different POS/ERP systems have different import description field lengths. SaberisConnect will create "text" or "comment" records, or XML Tags for any part of the description that does not fit into the description field on the POS/ERP system.
Max Description Length
Most legacy systems are 32 characters. The more modern systems have much bigger description fields. Please see POS/ERP Systems for more detailed information.
Export Settings
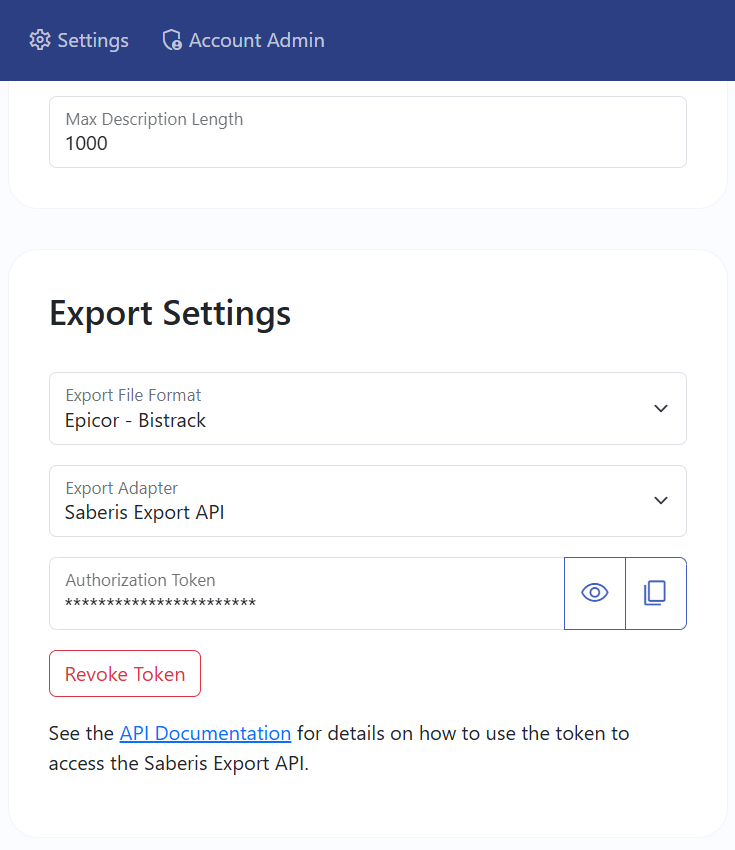
Export File Format
This is determined by which POS/ERP system you are using at your company. For more details please see ERP/POS Systems.
Export Adapter
This is also determined by which POS/ERP system you are using at your company. Please view settings for your ERP/POS System.
Export Adapter: None
This setting is used when Saberis does not send data to the POS/ERP system via an API or FTP, or if a POS/ERP system such as Epicor BisTrack connects to Saberis via FTP to transfer the files from our server. For clients that do not have an API or FTP connections, users will download their processed file to import into their POS/ERP system.
Consider using a browser that is different that your regular one to log into SaberisConnect. You can then set the browser download default setting to download to the required folder without a "Save As" pop-up.
Export Adapter: API (Application Programming Interface)
Saberis has implemented API connections with several POS/ERP companies. Please refer to your ERP/POS System to determine if it includes this feature. We are also introducing a new Saberis Export API. For more information on this feature, please contact Saberis Support.
Export Adapter: FTP (File Transfer Protocol)
This setting is available for clients who wish to set up an FTP server for the transfer of the processed files. Saberis can connect to your FTP server with the information configured in your export settings. Please note that we will require FTPs or SFTP for these transfers.
Selecting a Secure FTPS format (Explicit or Implicit) requires a certificate that is issued by a Certificate Authority. Self-signed certificates cannot be used in our automated FTPS process.
The Administrator should create a User account for every person or "desk" using SaberisConnect. This will allow the export file to have the User's name in the file name, and therefore it can be easily found among all the other user files that are being downloaded to the same server folder. This is not important for any POS/ERP system that imports the file from the user's desktop.
The other purpose of User accounts is that the User will only "see" their orders in the Document list of processed orders. You might want to consider a "desk" user name if you want all personnel in a department to see all the orders.
Creating a new User
1. Click on Create
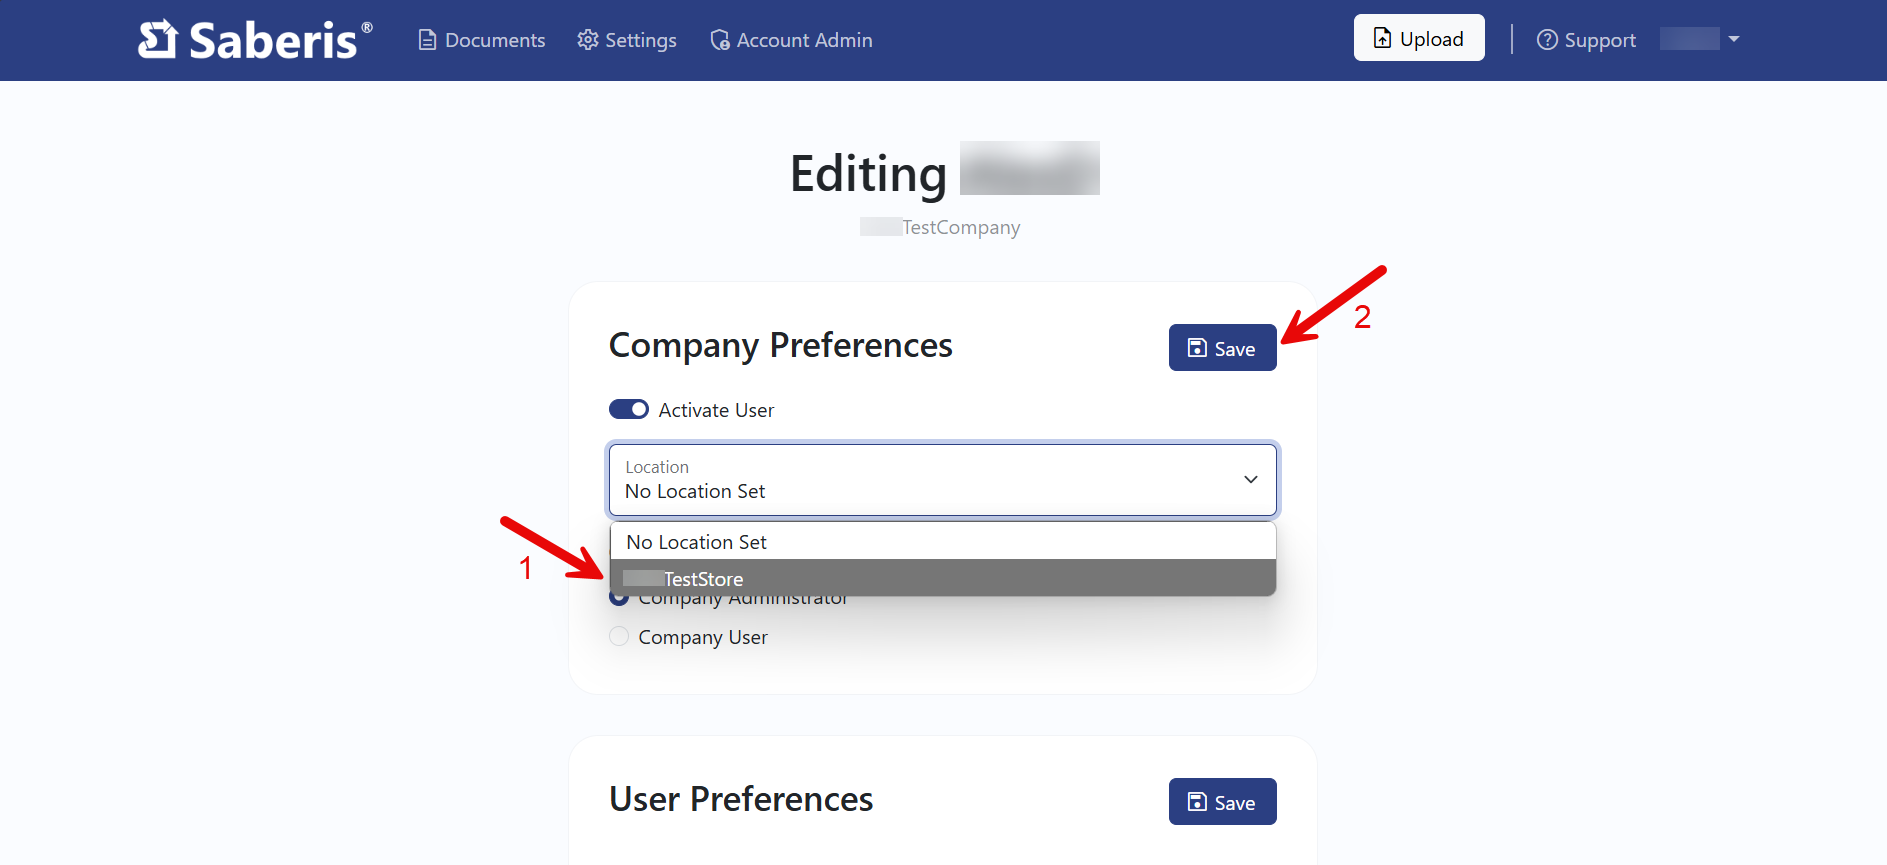
2. Fill out Company Preferences.
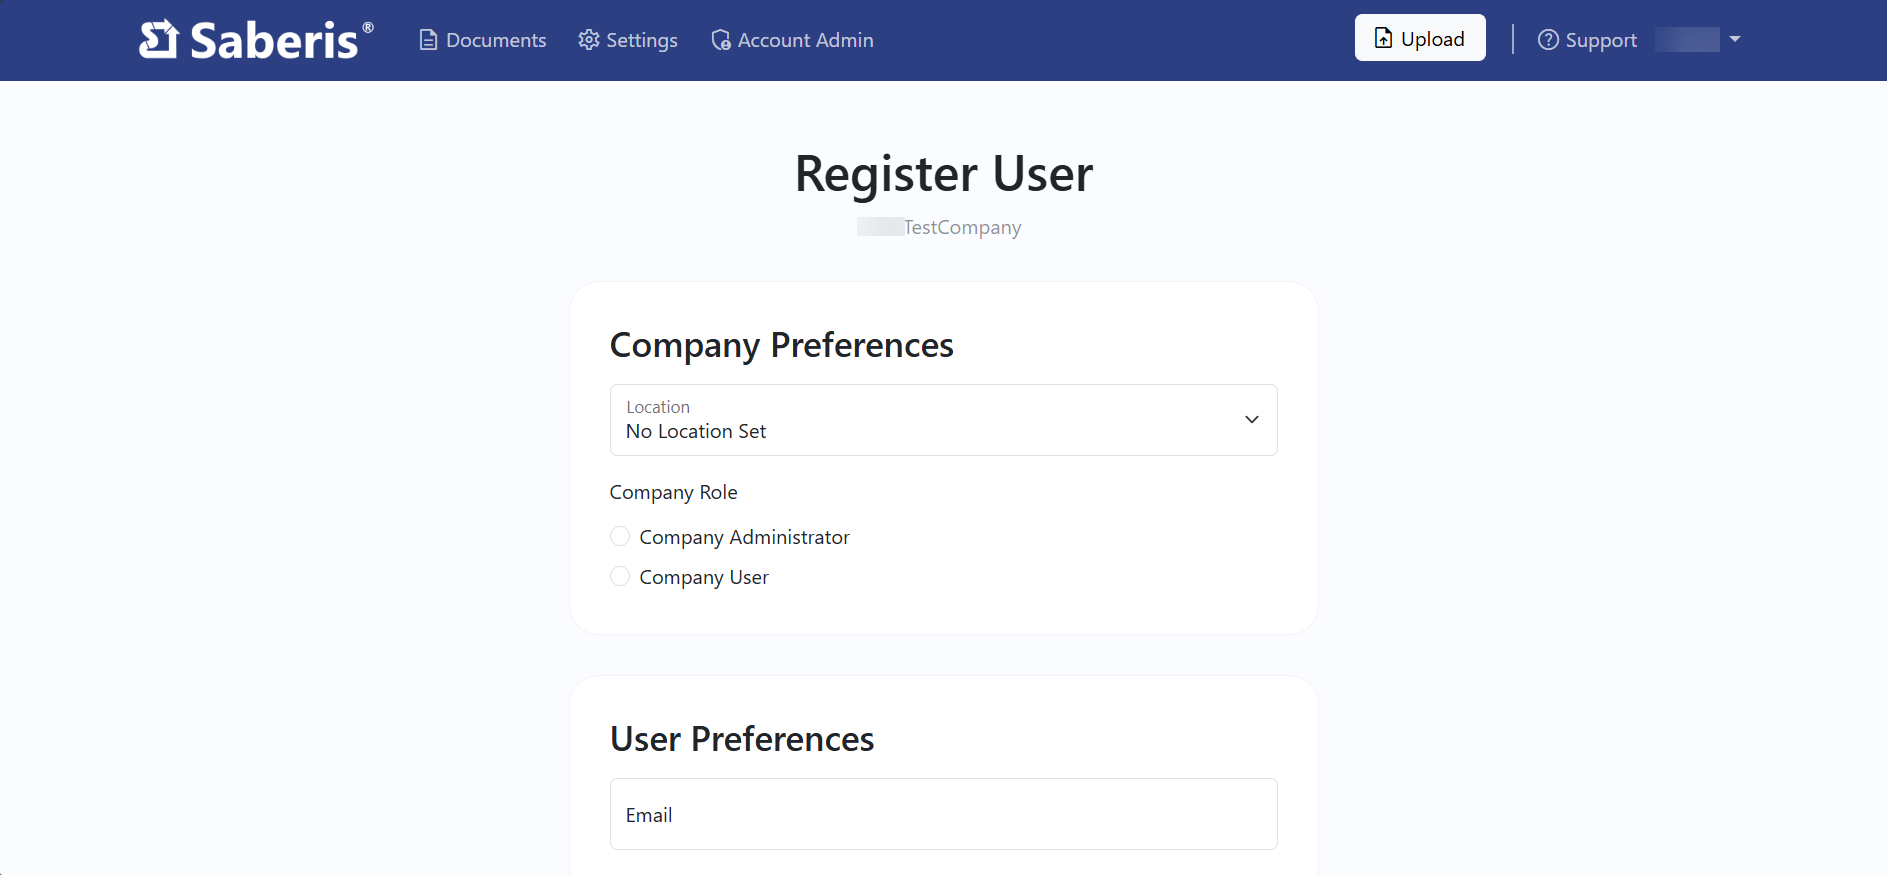
3- Fill out User Preferences.
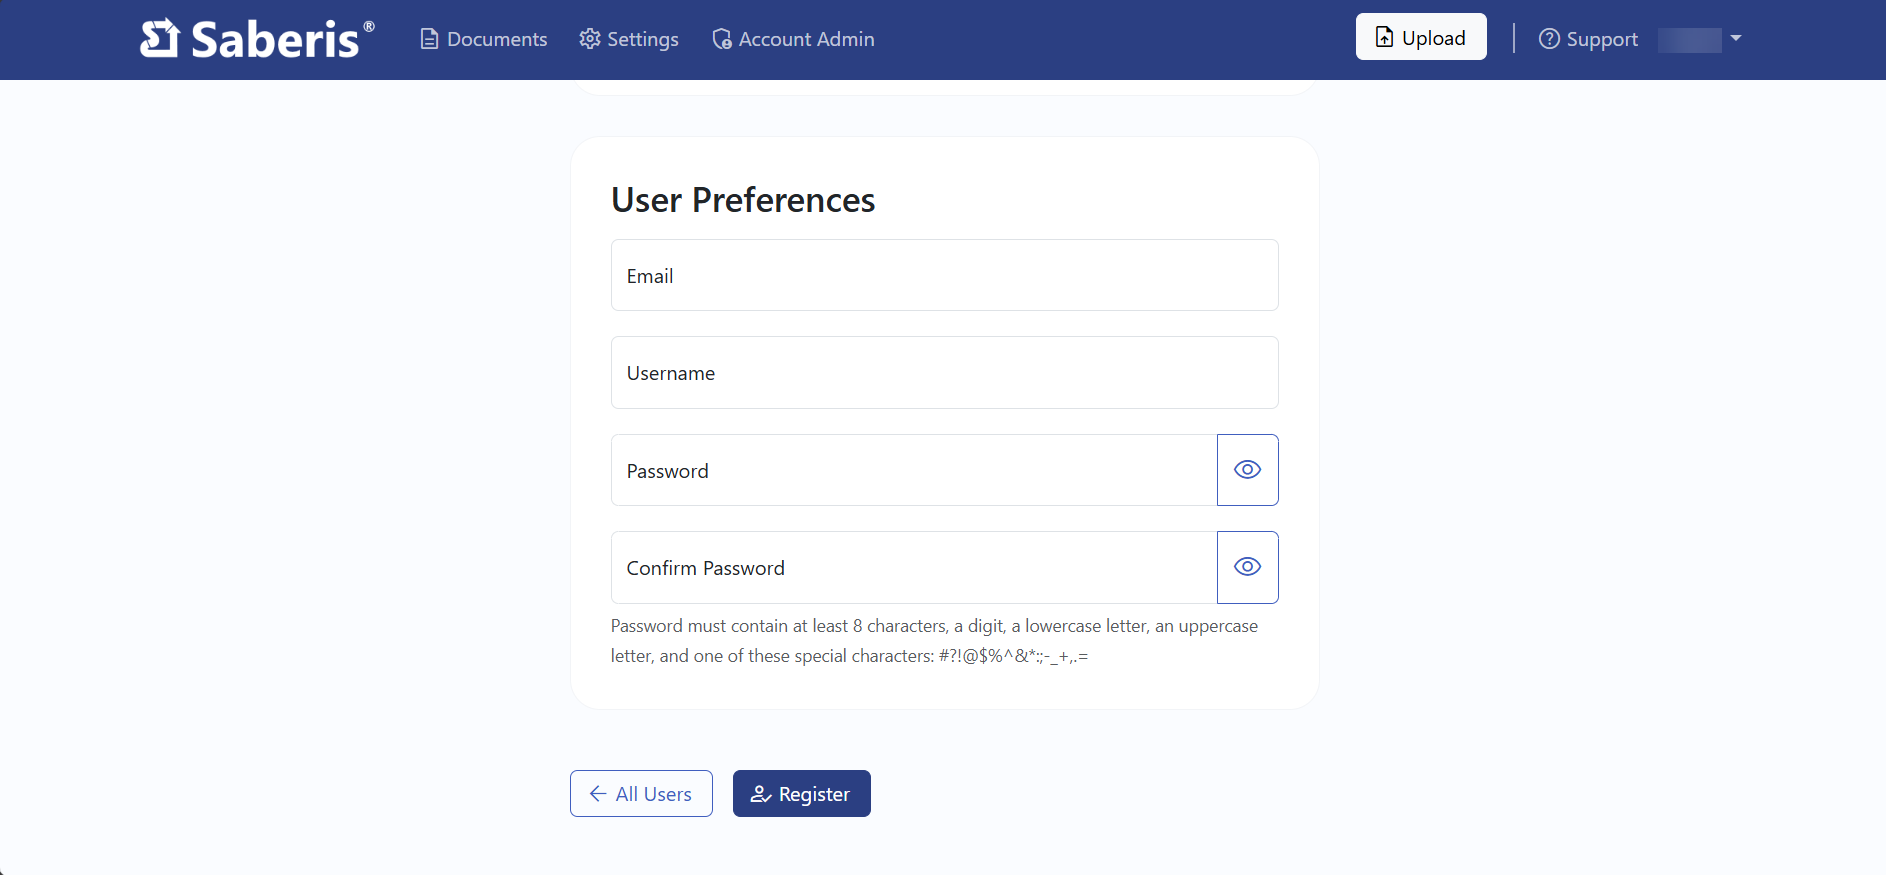
4. Once complete, click on Register
Select "Company User" for most users. You don't want all the users to be "Company Administrators" who are able to change company settings.
Since most Administrators are IT people, it may be feasible to grant Administrator rights to a key person in the design and/or sales department. They may be the ones responsible for the Module Settings and Phrase Mapping.
There are two methods to change your password:
- Method 1: If you are in the Document List, click on the time zone next to the date.
- Method 2: Click on your User Name on the navigation bar and select Manage Account from the dropdown menu.
Once you've done this, scroll down to the Change Password Section and fill in the sections.
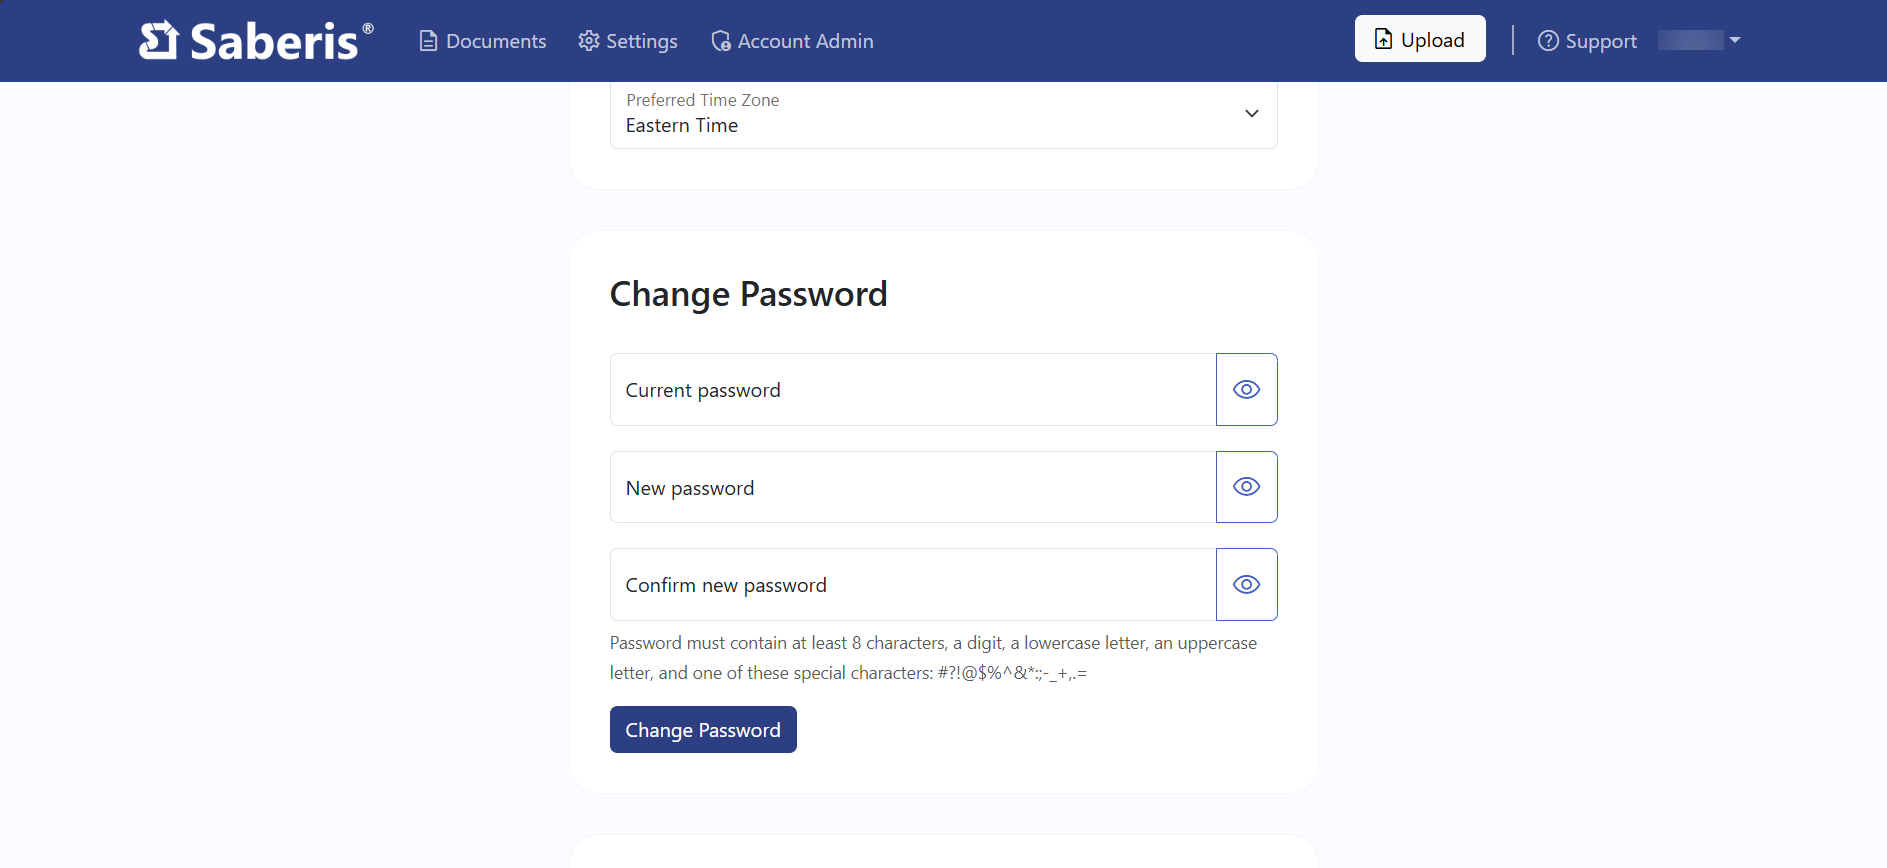
Click on Change Password to save your changes.
Creating a new Location
Click on Create.
Next, a new window will open requesting Name, Store Number, and Customer Code.
Fill in these values and then hit Create.
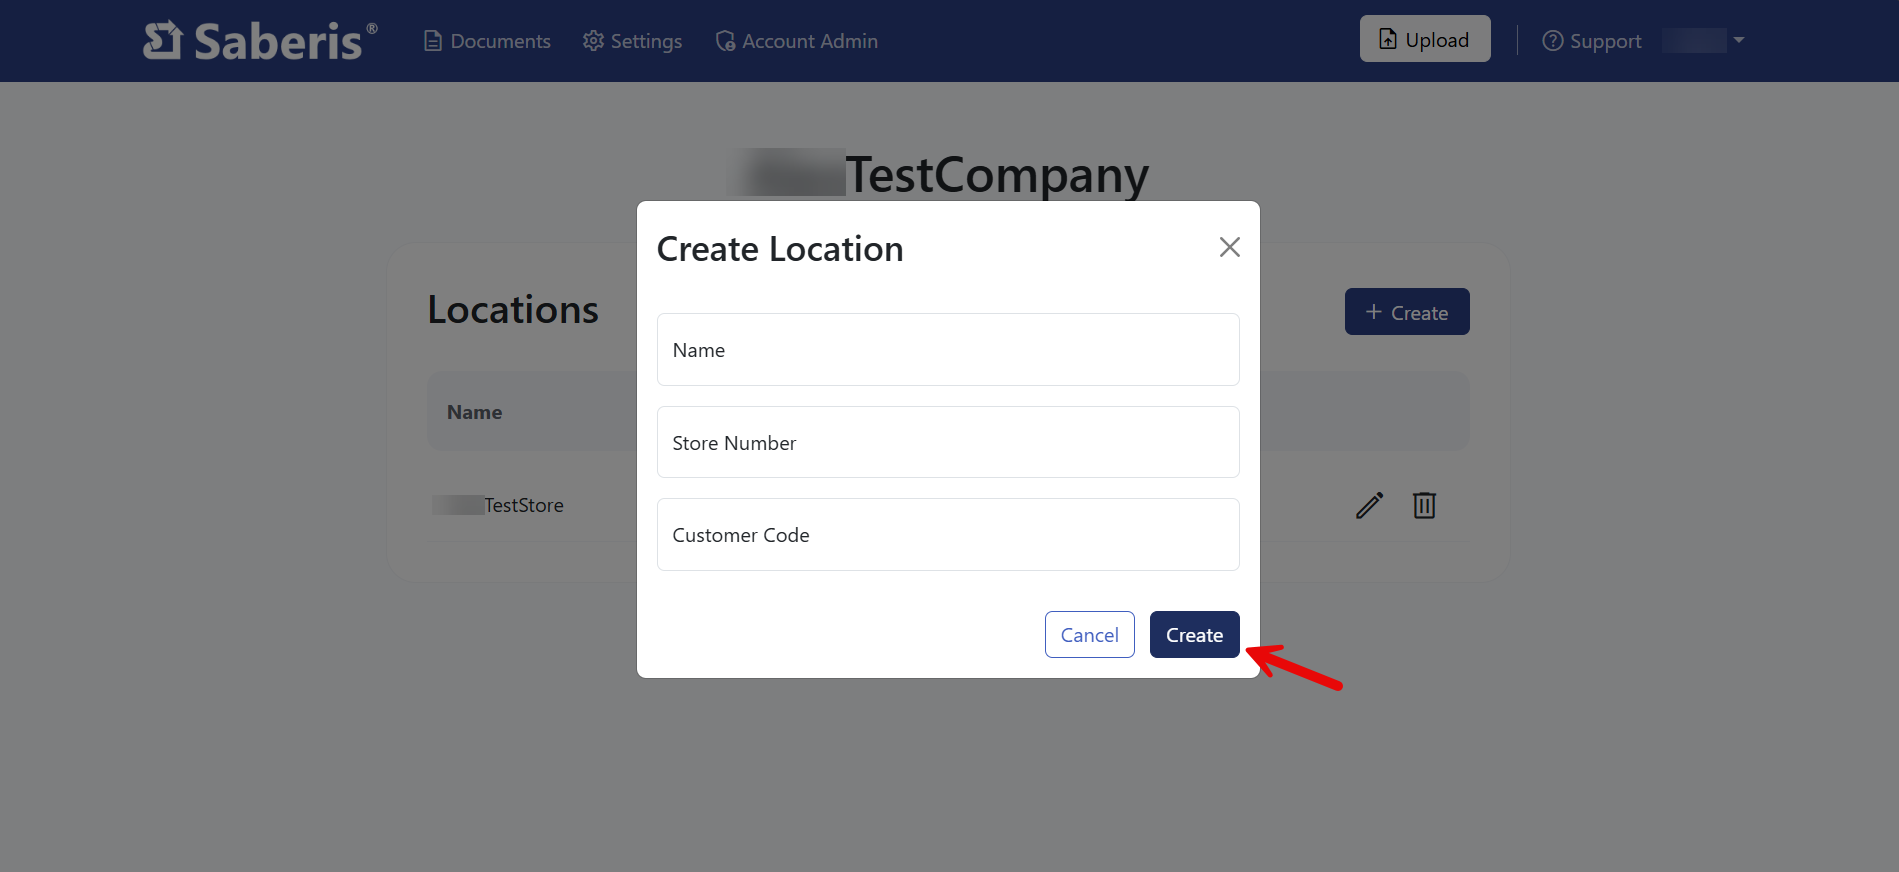
You should see the new Location in the Location List. When you create a new User, you can set their Location.
Alternatively, you can edit a User and set their Location after being created.